Thanks for hanging in there. This is my final post on quilt market. I hope you've enjoyed it!
I've never worked with wool before, but after seeing what the Gail and Lisa of
Wooly Lady had to offer... I simply must! All of their wool is hand-dyed. It was so soft with the most vibrant and variegated colors. They have many beautiful kits to choose from, too. Love, love!
"Stitches" from
Betz White is a super-fun collection. I can't wait to see what cool things come from this line.
I loved every single thing about " "Daisy Cottage" from
Lori Holt (Bee in my Bonnet). The colors are so sweet and it was all tied up with a pretty, vintage flair.
Harriet and I couldn't help but stop by this lovely booth to meet authors
Bonnie Sullivan and
Kathy Schmitz. Their new book "French Inspirations" is a pleasure to read. Harriet got her copy right away and I can't wait to
steal borrow it soon!
"
Power Pop" by designer Jenean Morrison. She cut all those cute flowers out by hand! And, she had tiles made to resemble quilt blocks. Great booth!
Bummer, I missed meeting
Sandi Henderson. I've always admired her fabrics. Sandi is showing off her laminates from "Secret Garden". Delicious!
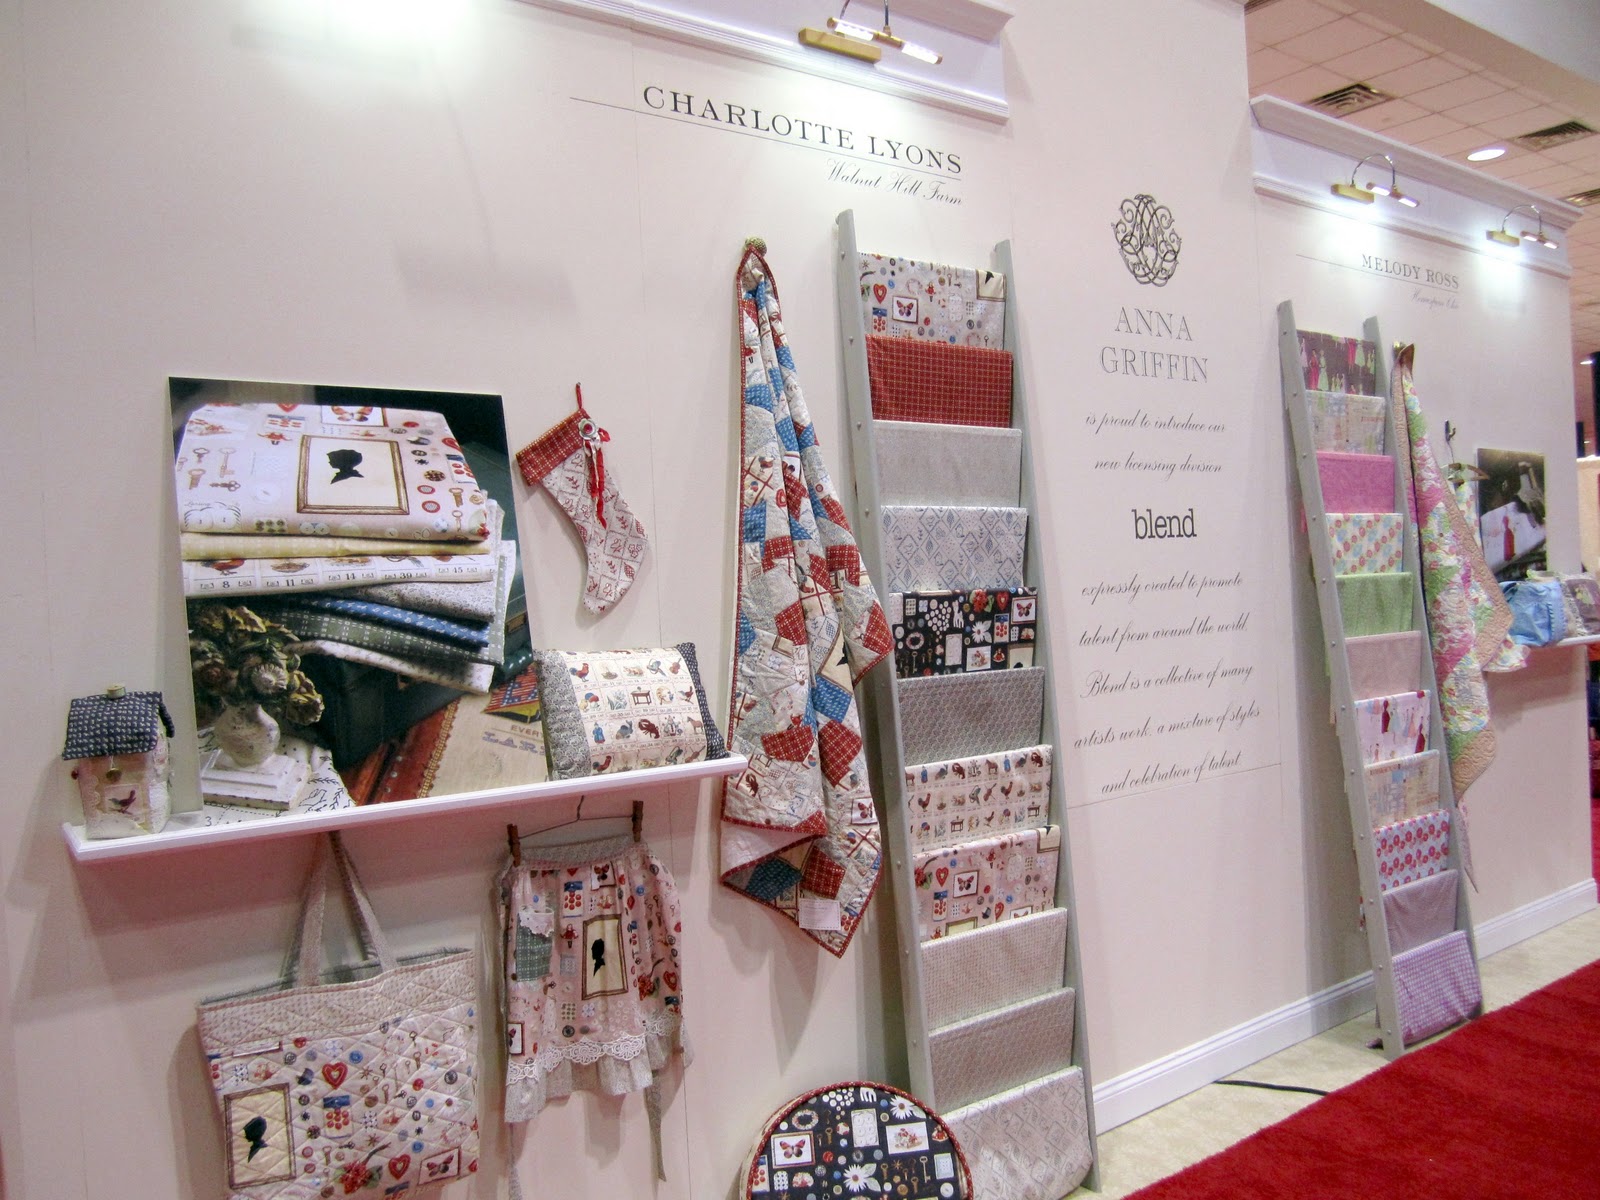
Anna Griffin's booth full of wonderful fabric. She had quite the audience, but we happened to come along later when she wasn't so busy and had the chance to meet her and purchase some fat quarter bundles. Harriet grabbed the "Pinelope" collection and I opted for "Francesca". I'm still petting it. I have no idea what I'll do with it, but that doesn't really matter, right? It looks pretty in my studio! Anna was so friendly and fun to talk to.
Riley Blake had great displays and this one is "Delighted" by Amanda Herring of
The Quilted Fish. If you haven't already checked out her blog, go over soon. She's done some pretty fun stuff already with her new collection.
Yeah, we had to. It's just not that often that we get to hang with the Cat in the Hat!
Of course, we were at QUILT market and so I would be remiss if I didn't share some of the amazing quilts. Pictured below are the ones that just blew me away. I cannot imagine the hours these artists must have poured into their artwork. Just amazing.
"Time" by Sue de Vanny, Greenvale, Victoria, Australia
"Element 1: Earth (Persephone)" by Sheila Riess, Ellicot City, MD - Best of Sulky, 1st Place
"Eliza, the Flower Girl" by Gayle Griffith, Philadelphia, PA -
www.hoffmanchallenge.com. This doll is precious and her facial features are so detaiiled.
"Everlasting Bouquet" by Molly Hamilton-McNally and Cindy Seitz-Krug, Tehachapi, CA - EZ Quilting by Simplicity Creative Group, Innovative Applique.
Thanks again for stopping by! I have something fun to share with you in my next post so I hope you'll come back to check it out!
Pin It







 Posts